


To install roof shingles, start by laying tarps on the ground to catch debris. Remove old shingles using a roofing fork or shovel. Install underlayment and new flashing on the roof. Cut your shingles to size if they're not pre-cut and start laying them from the bottom edge of the roof. Overlap each metal piece by at least 150 mm (6") and use asphalt plastic cement under each section of overlap.
Please note: This guide on 'How to Fit Roof Shingles' has been written for information purposes and we therefore take no responsibility for any purchasing decisions you make or installation processes you follow as a result of reading this article. Whilst we act as a retailer, we are not experts nor qualified in the installation of roof shingles or any other roofing material. We therefore recommend that you refer to your manufacturer's guide and, if appropriate, consult a qualified professional.
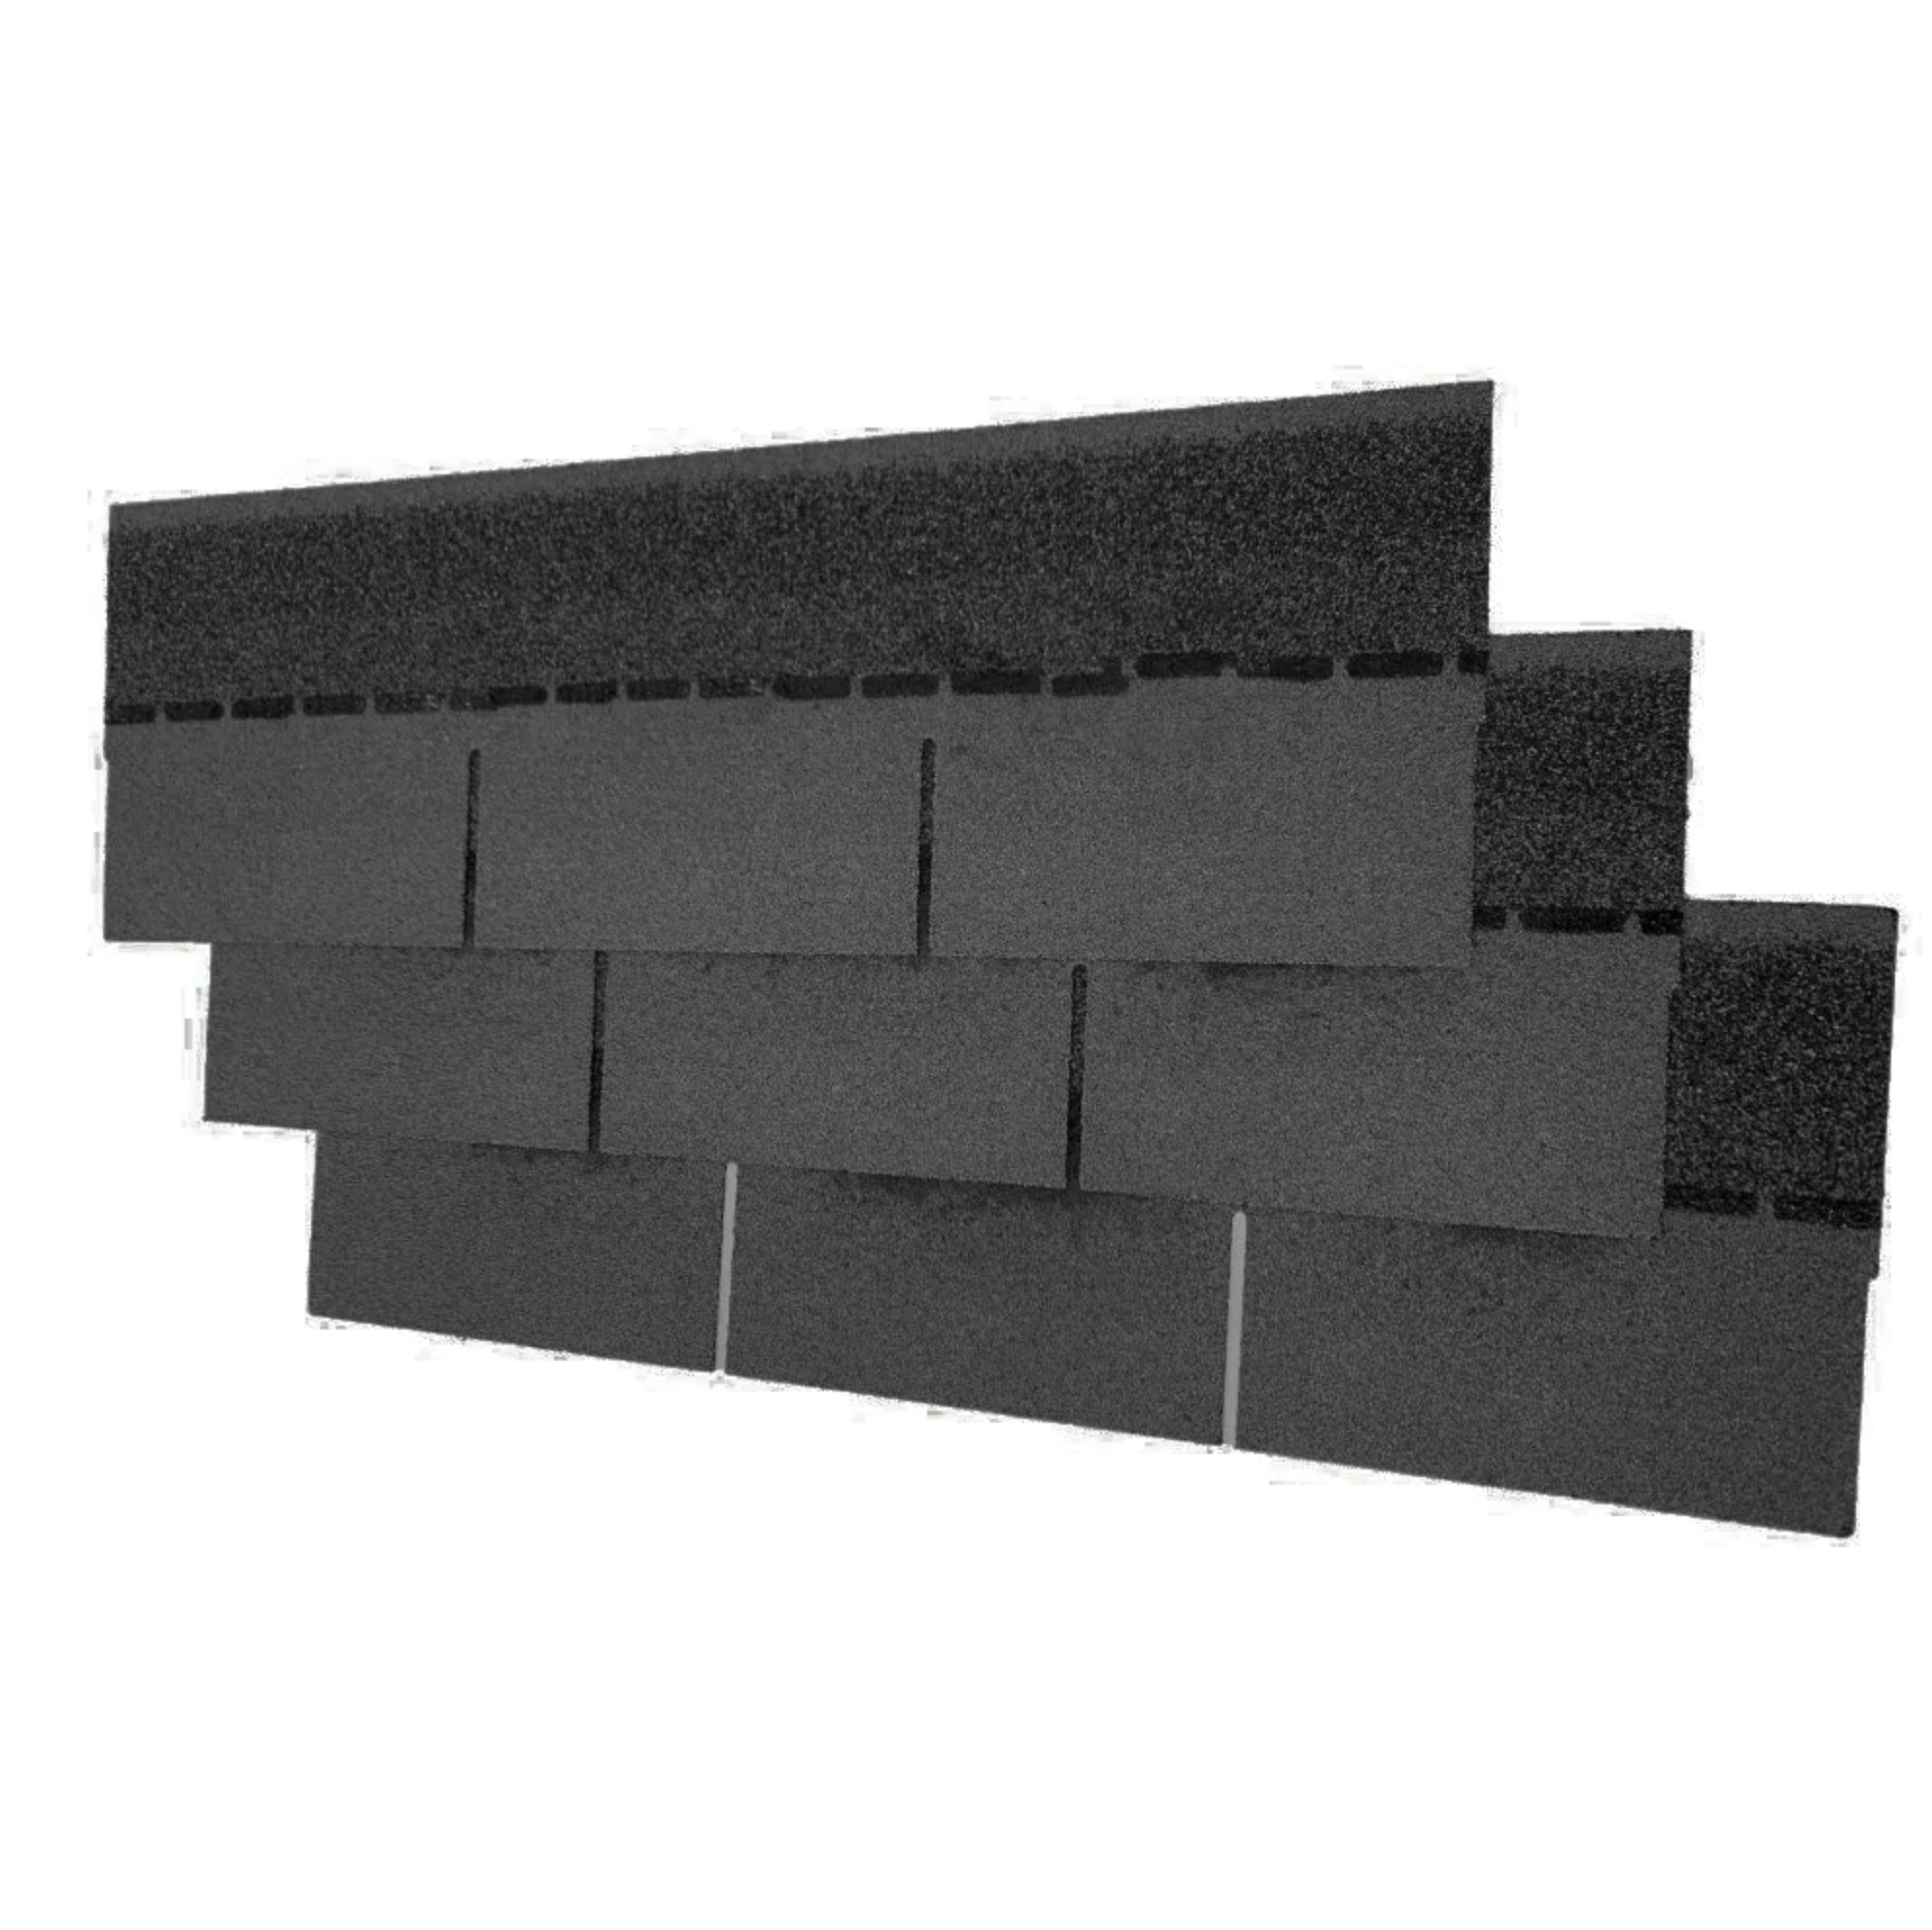
How to apply the felt roof shingles
Fitting Roof Shingles
Prepare Your Roof Deck
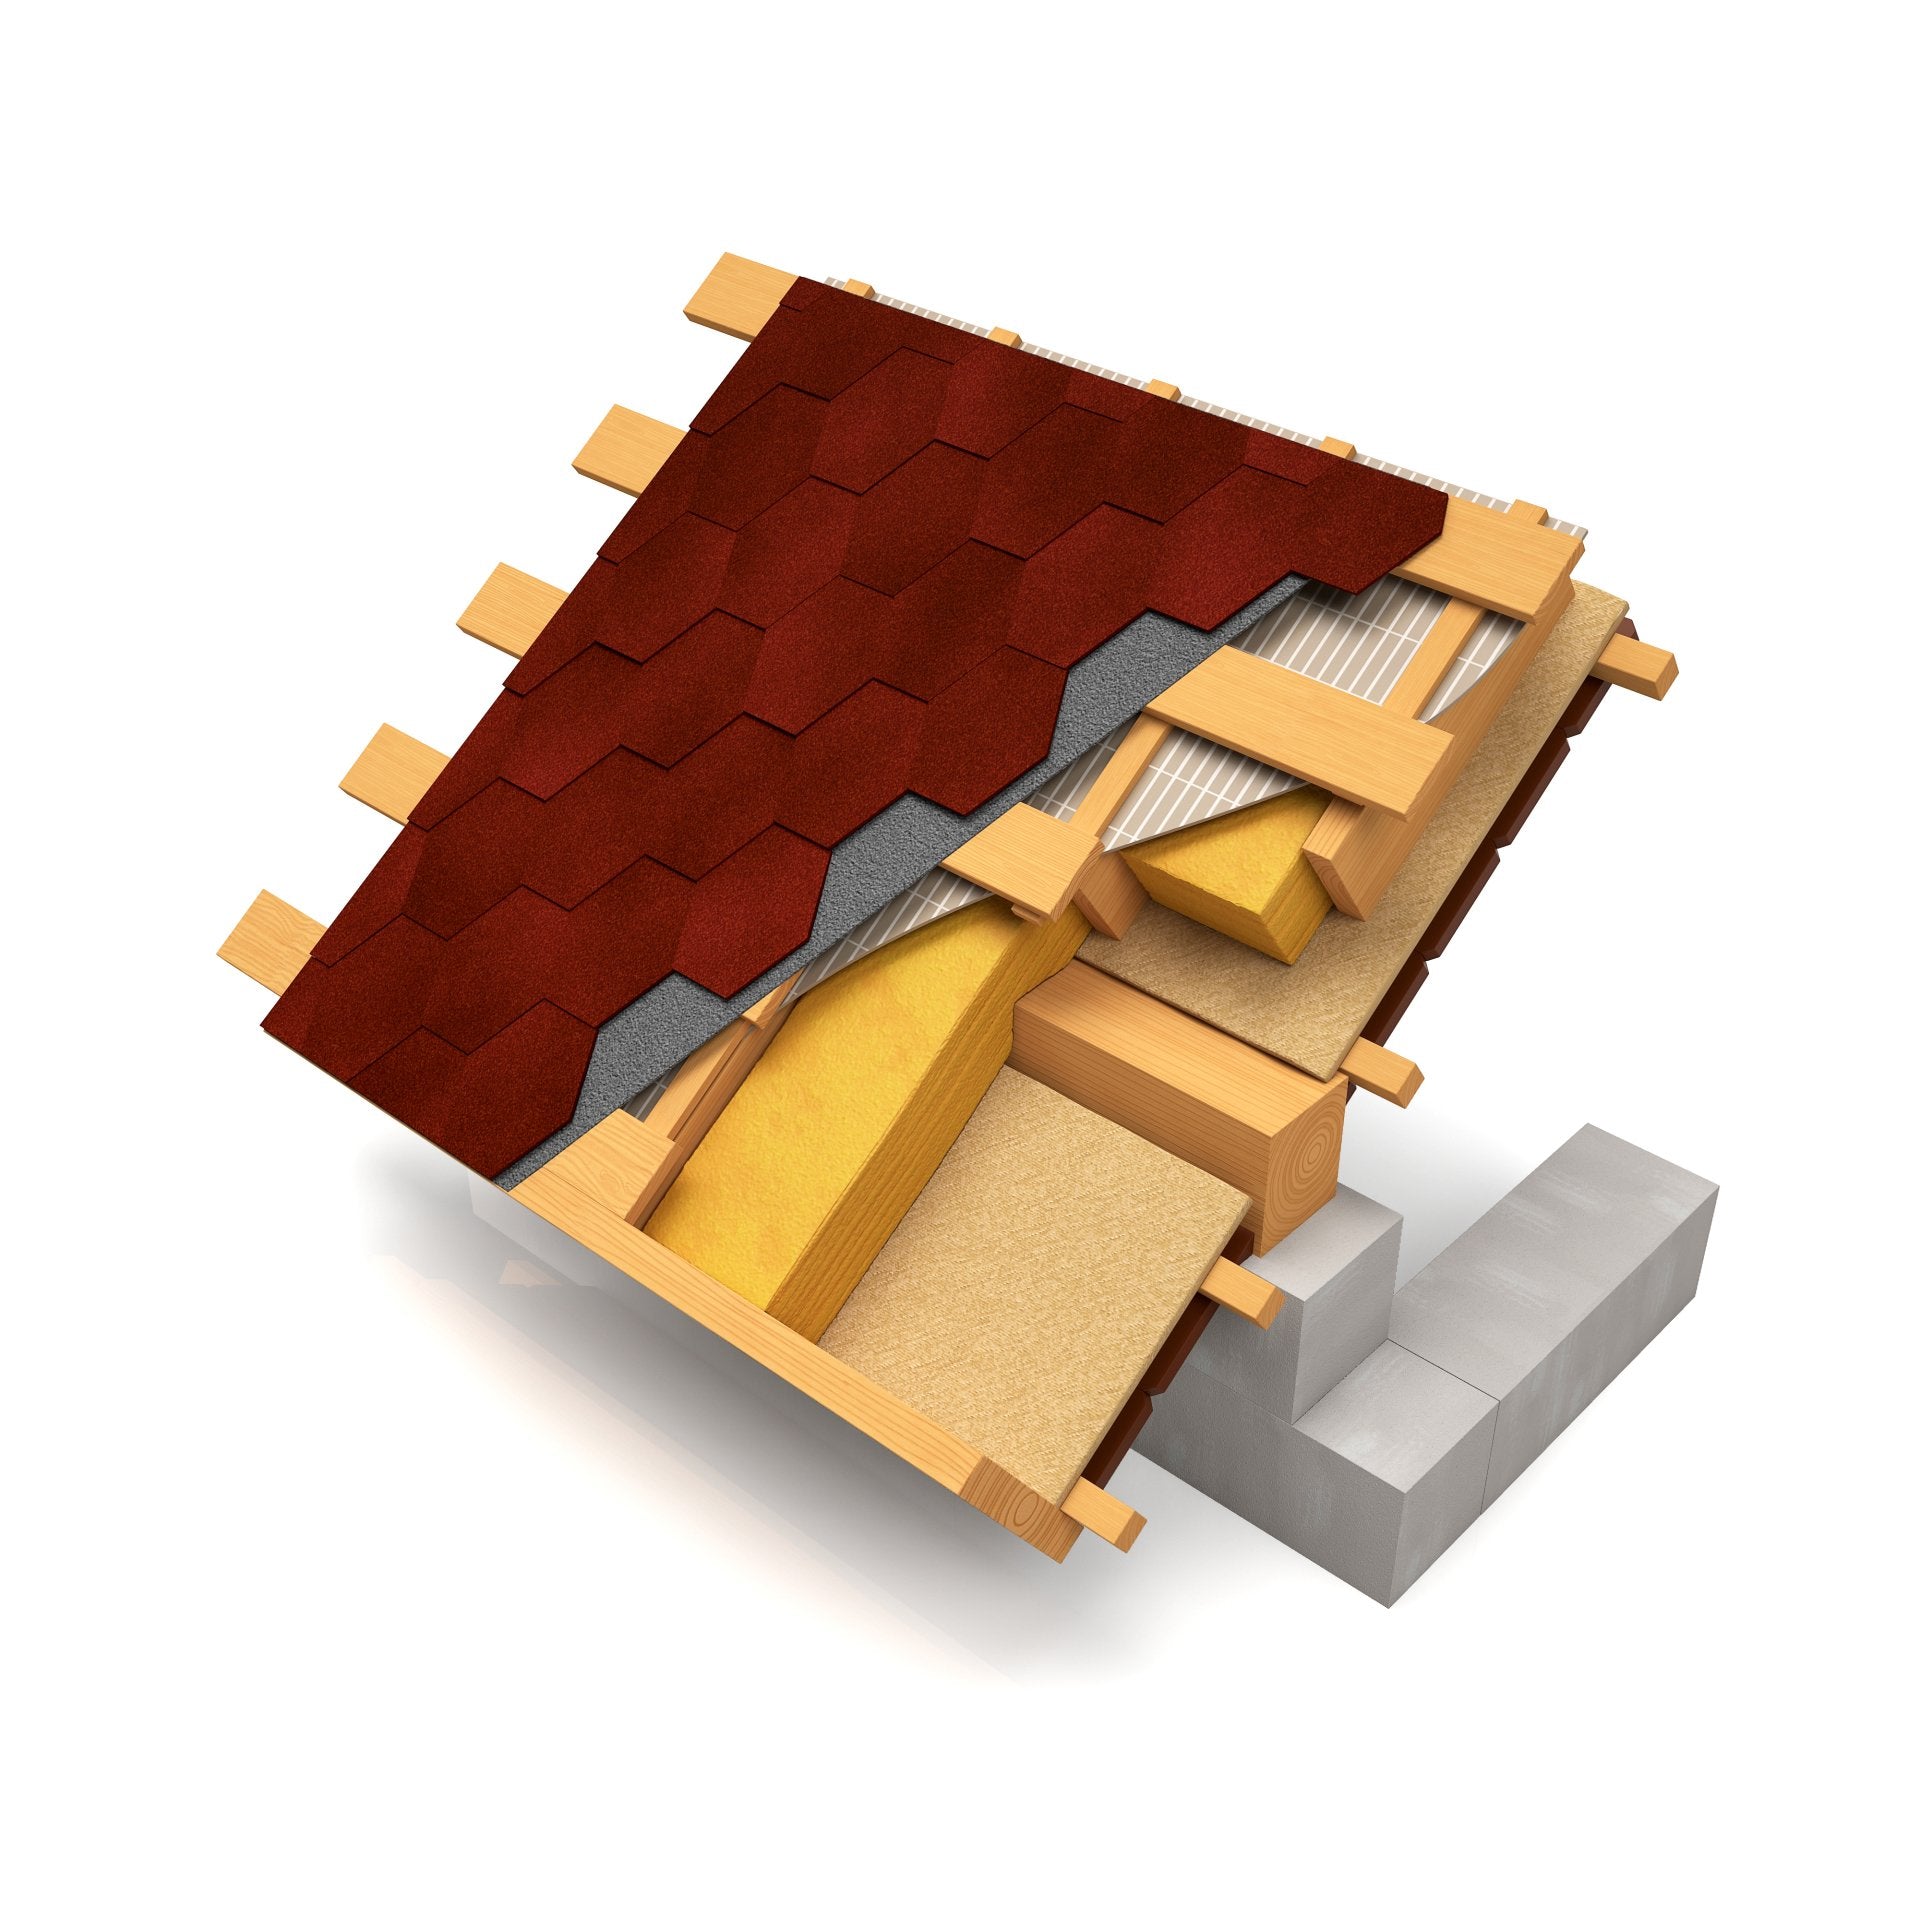
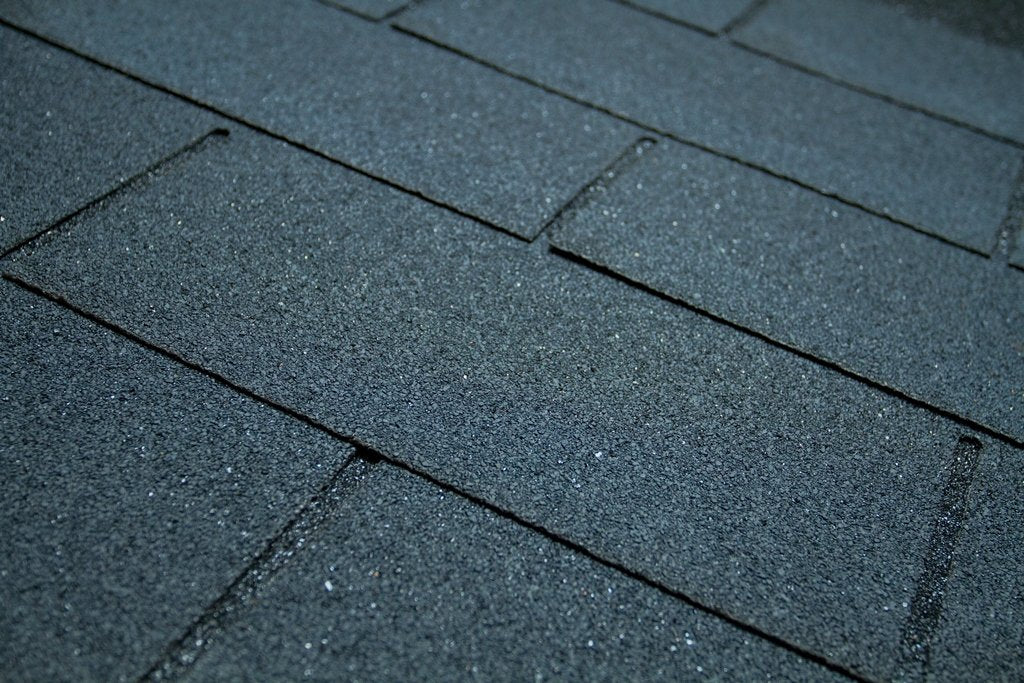
Fix Your Roof Shingles
Secure Your Roof Shingles